


This article will show you how to create a package in WHM.
-
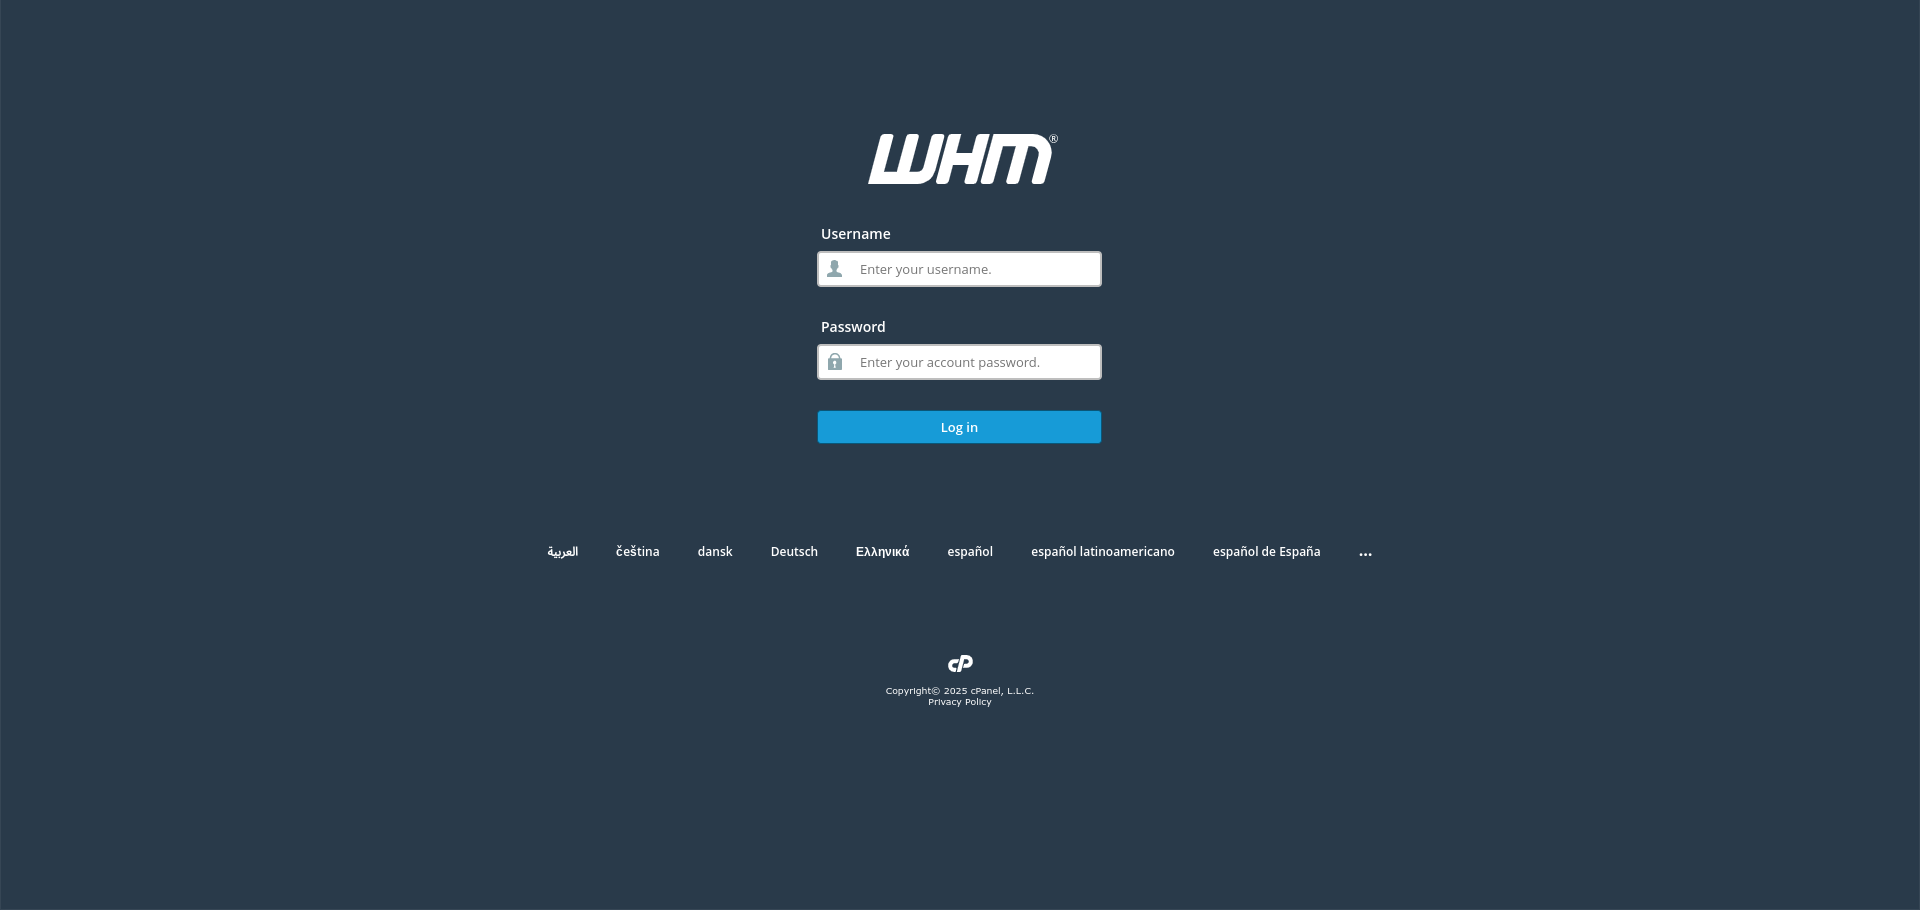
Log in to WHM:
Use your root or reseller credentials to log in to the WHM control panel.
-
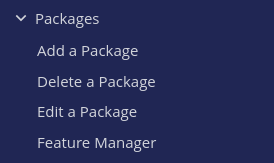
Navigate to the Packages Section:
- In the left-hand menu, locate and click on Add a Package under the Packages category.
-
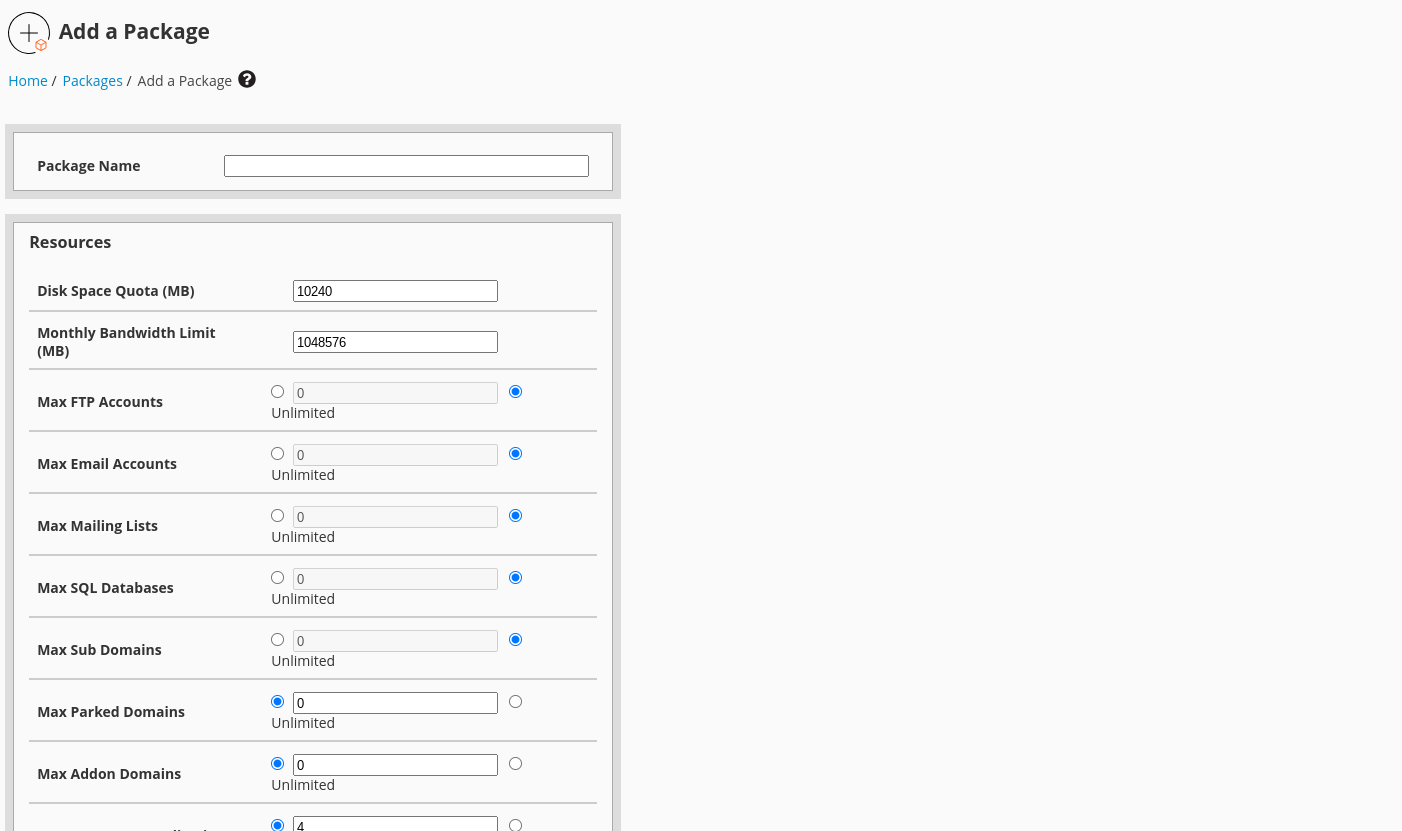
Enter Package Details:
- Package Name: Enter a unique name for the new package.
- Disk Space Quota (MB): Specify the maximum disk space allocated to accounts using this package.
- Monthly Bandwidth Limit (MB): Set the maximum monthly bandwidth usage.
- Max FTP Accounts: Define the maximum number of FTP accounts allowed.
- Max Email Accounts: Set the maximum number of email accounts permitted.
- Max Databases: Specify the maximum number of databases allowed.
- Max Subdomains: Define the maximum number of subdomains permitted.
- Max Addon Domains: Set the maximum number of addon domains allowed.
- Max Parked Domains: Specify the maximum number of parked domains permitted.
-
Configure Settings:
- Options: Select additional features such as CGI Access, Shell Access, or FrontPage Extensions.
- cPanel Theme: Choose the default cPanel theme for accounts using this package.
- Feature List: Assign a feature list to define available features for this package.
- Locale: Select the default language for cPanel accounts using this package.
-
Add the Package:
- After configuring the desired settings, click the Add button to create the package.

Congratulations! You’ve successfully created a package in your WHM control panel.


