


This article will show you how to use cPanel’s File Manager.
-
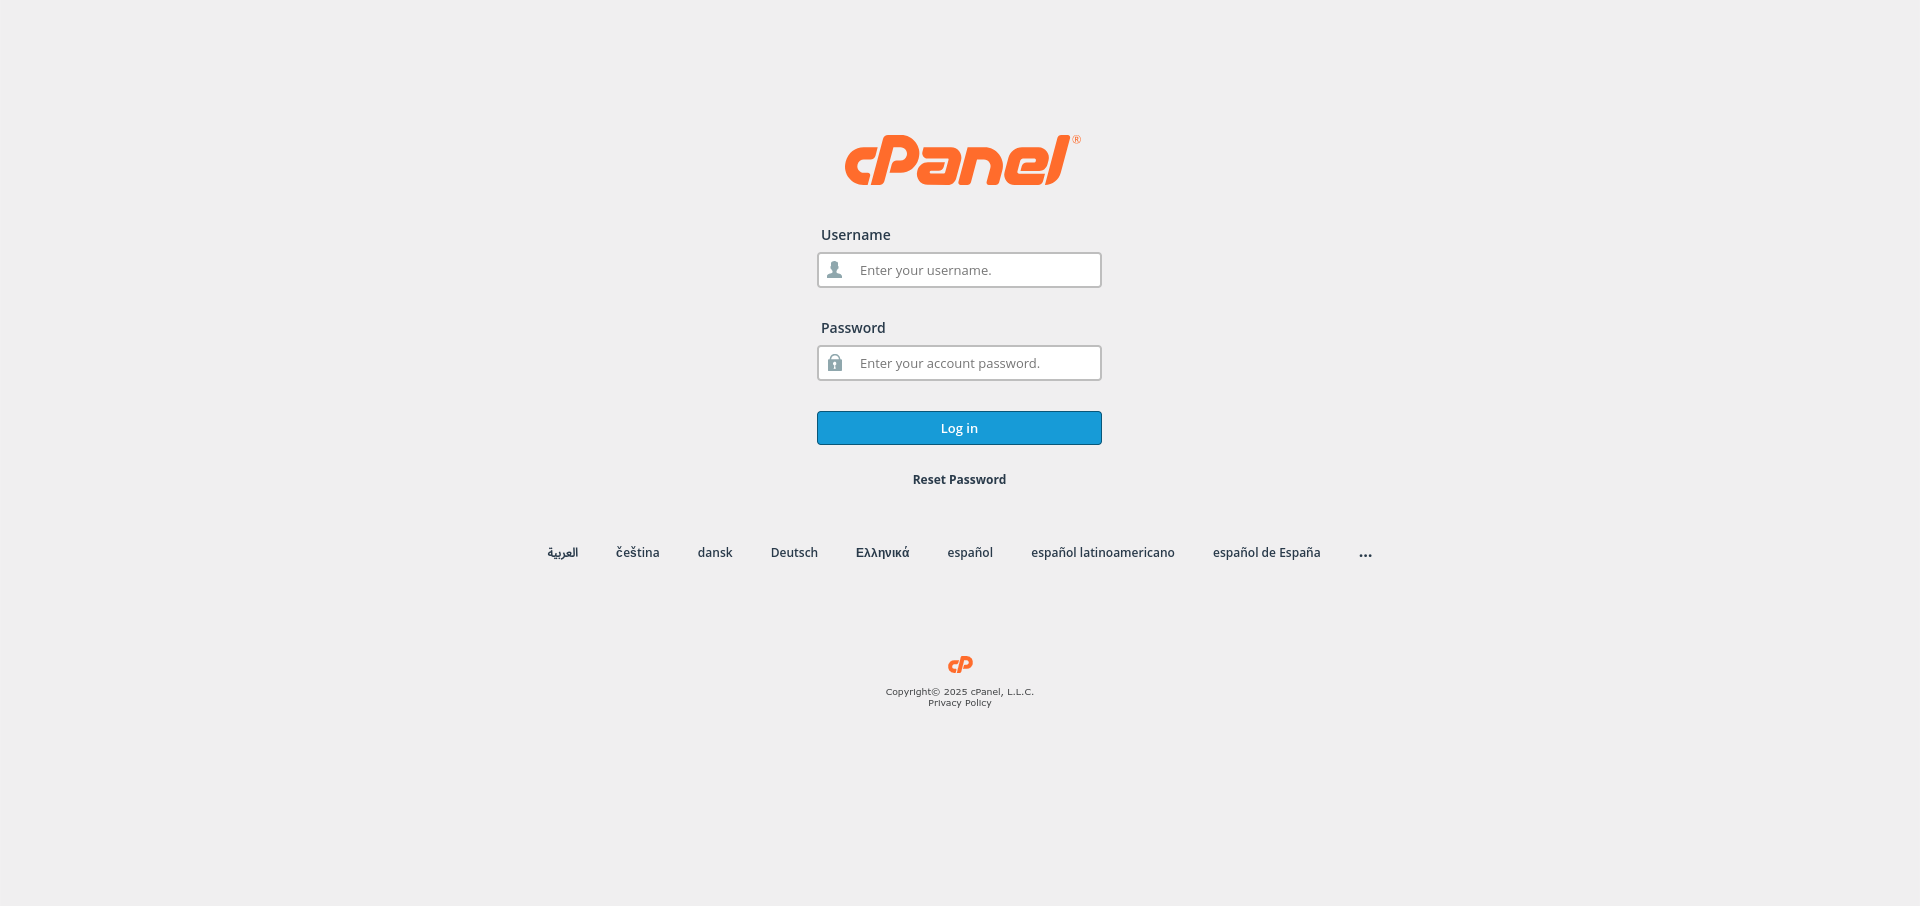
Log in to cPanel:
Use your user details to log in to the cPanel control panel.
-
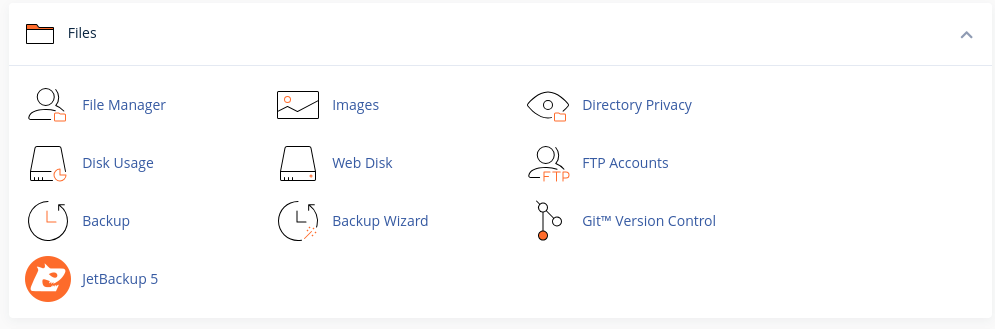
Navigate to the Files Section:
Scroll down and find the Files section in cPanel.
-
Access File Manager:
Click on the File Manager option under the Files section.
-
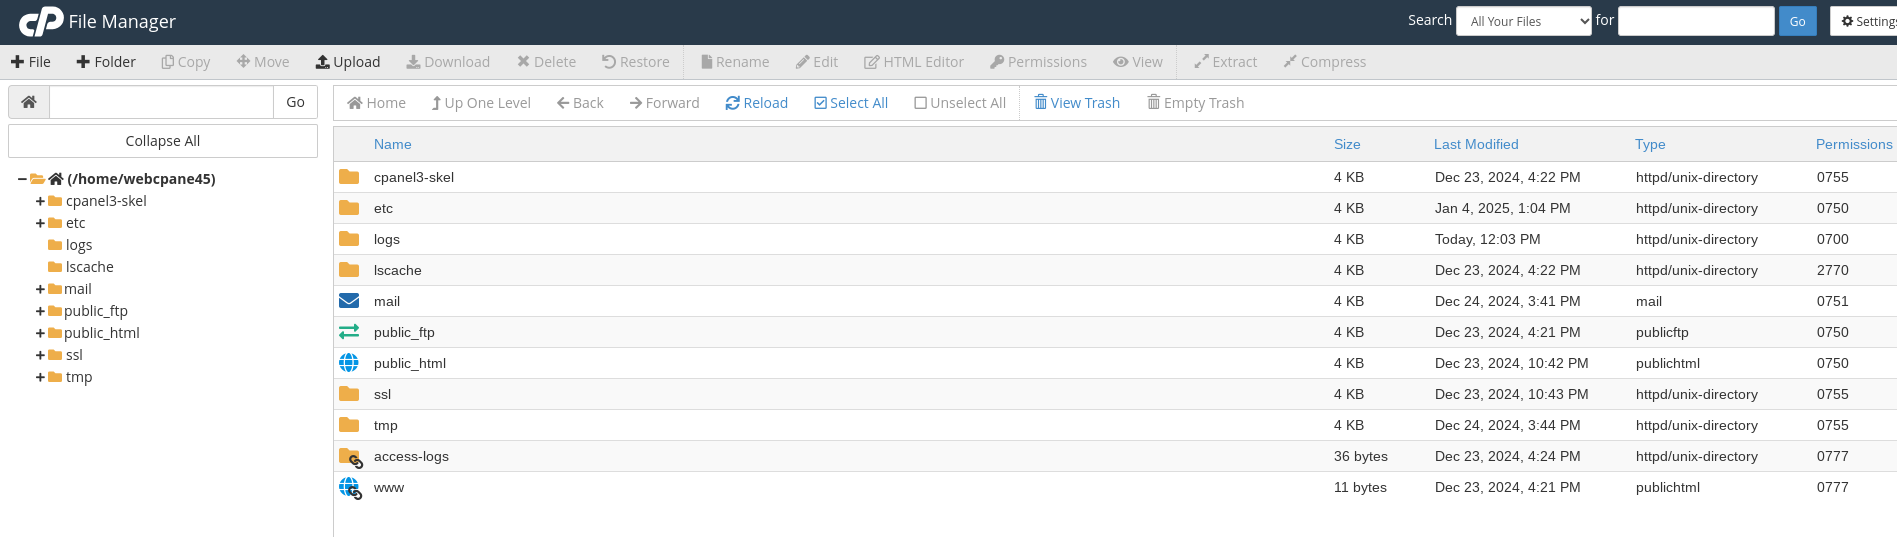
Choose the Directory to Open:
Select the directory you want to manage. The default directory is usually public_html, which holds your website files. -
Upload Files:
To upload files, click the Upload button in the top menu, choose the files from your local device, and upload them to the selected directory.

-
Manage Files and Folders:
- Create Folders: Click the + Folder button to create a new folder.
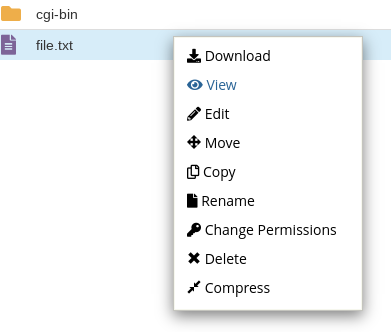
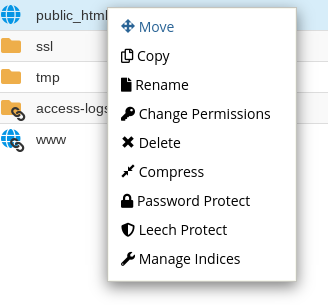
- Rename Files/Folders: Right-click on a file or folder and select Rename.
- Delete Files/Folders: Right-click and select Delete to remove files or folders.
- Move Files/Folders: Right-click and select Move, then specify the destination path.
-
Edit Files:
Right-click on a file and choose Edit to open it in the built-in editor. Make changes and save them.
-
Set File Permissions:
Right-click on a file or folder, select Change Permissions, and adjust the file permissions as needed.
Congratulations! You’ve successfully learned how to use cPanel’s File Manager to manage your website’s files and folders.


