


This article will show you how to add DNS records in cPanel.
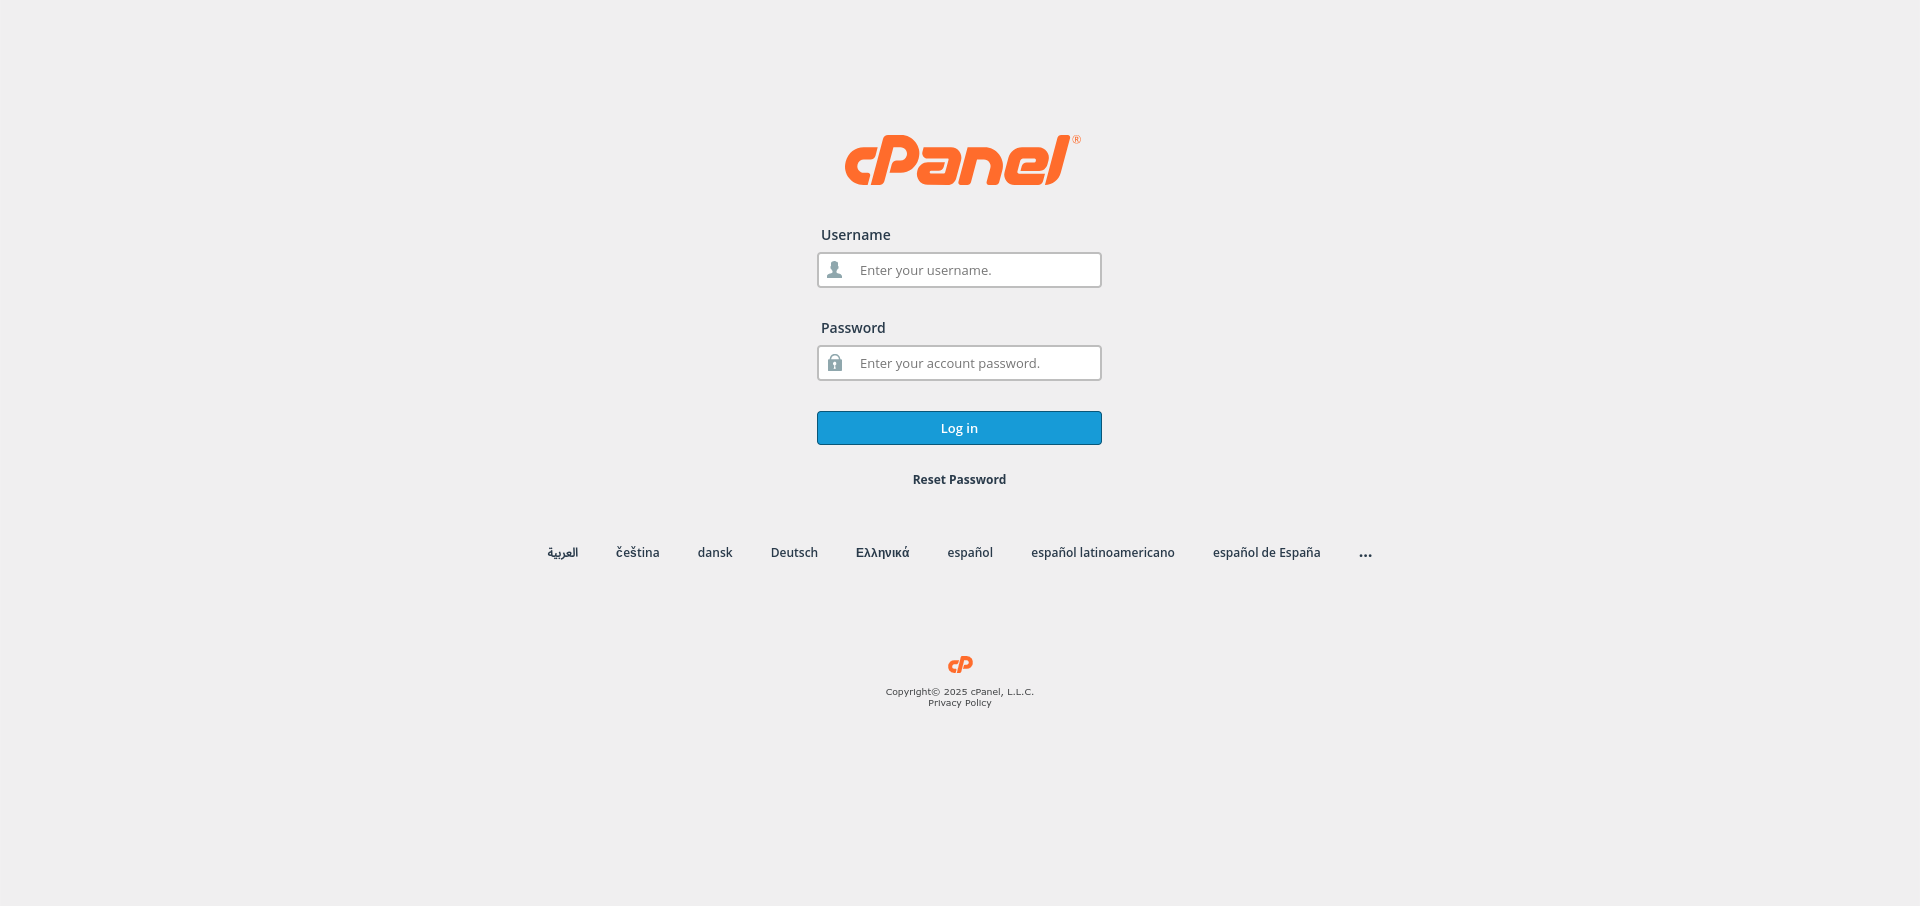
- Log in to cPanel:
Use your user details to log in to the cPanel control panel.
- Navigate to the Domains Section:
Scroll down and find the Domains section in cPanel.
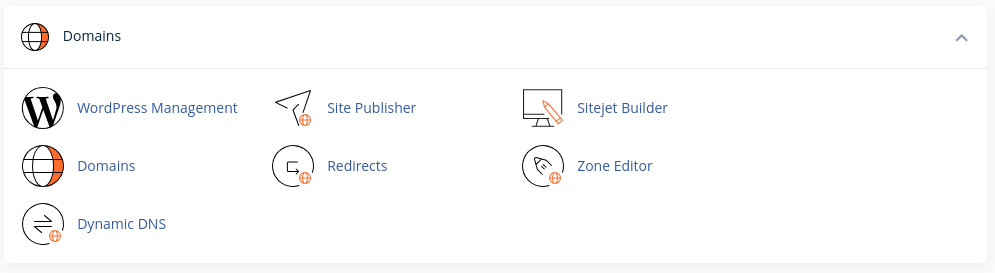
- Access the Zone Editor:
Click on the Zone Editor option under the Domains section.
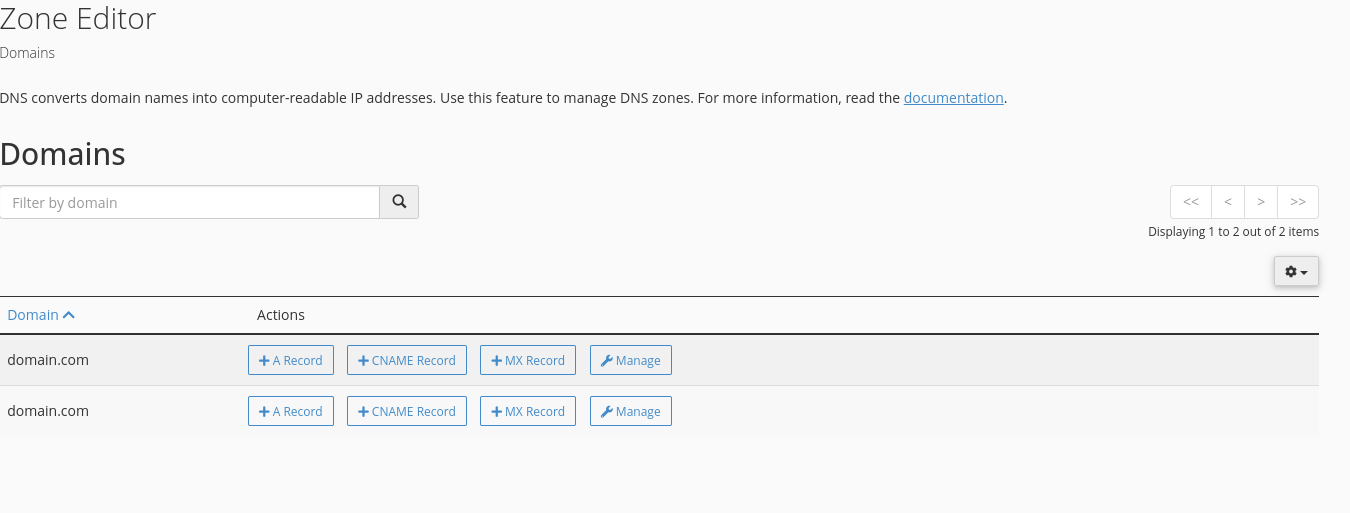
- Select the Domain:
Find the domain for which you want to add a DNS record and click on the Manage button next to it.

- Add a New Record:
- Click on the + Add Record button.
- From the drop-down menu, select the type of DNS record you want to add (e.g., A, CNAME, MX, TXT, etc.).

- Enter Record Details:
- Name: Enter the name for the record (e.g., subdomain for subdomain.yourdomain.com).
- TTL: Set the Time to Live value (default is usually fine).
- Type: Choose the record type (e.g., A, CNAME, MX, TXT).
- Record: Enter the value for the record (e.g., IP address for A record, target domain for CNAME record).
- Save the Record:
After entering the details, click the Save Record button to add the DNS record.

Congratulations! You’ve successfully added a DNS record in your cPanel control panel.


