


This article will show you how to add a new cPanel user in WHM.
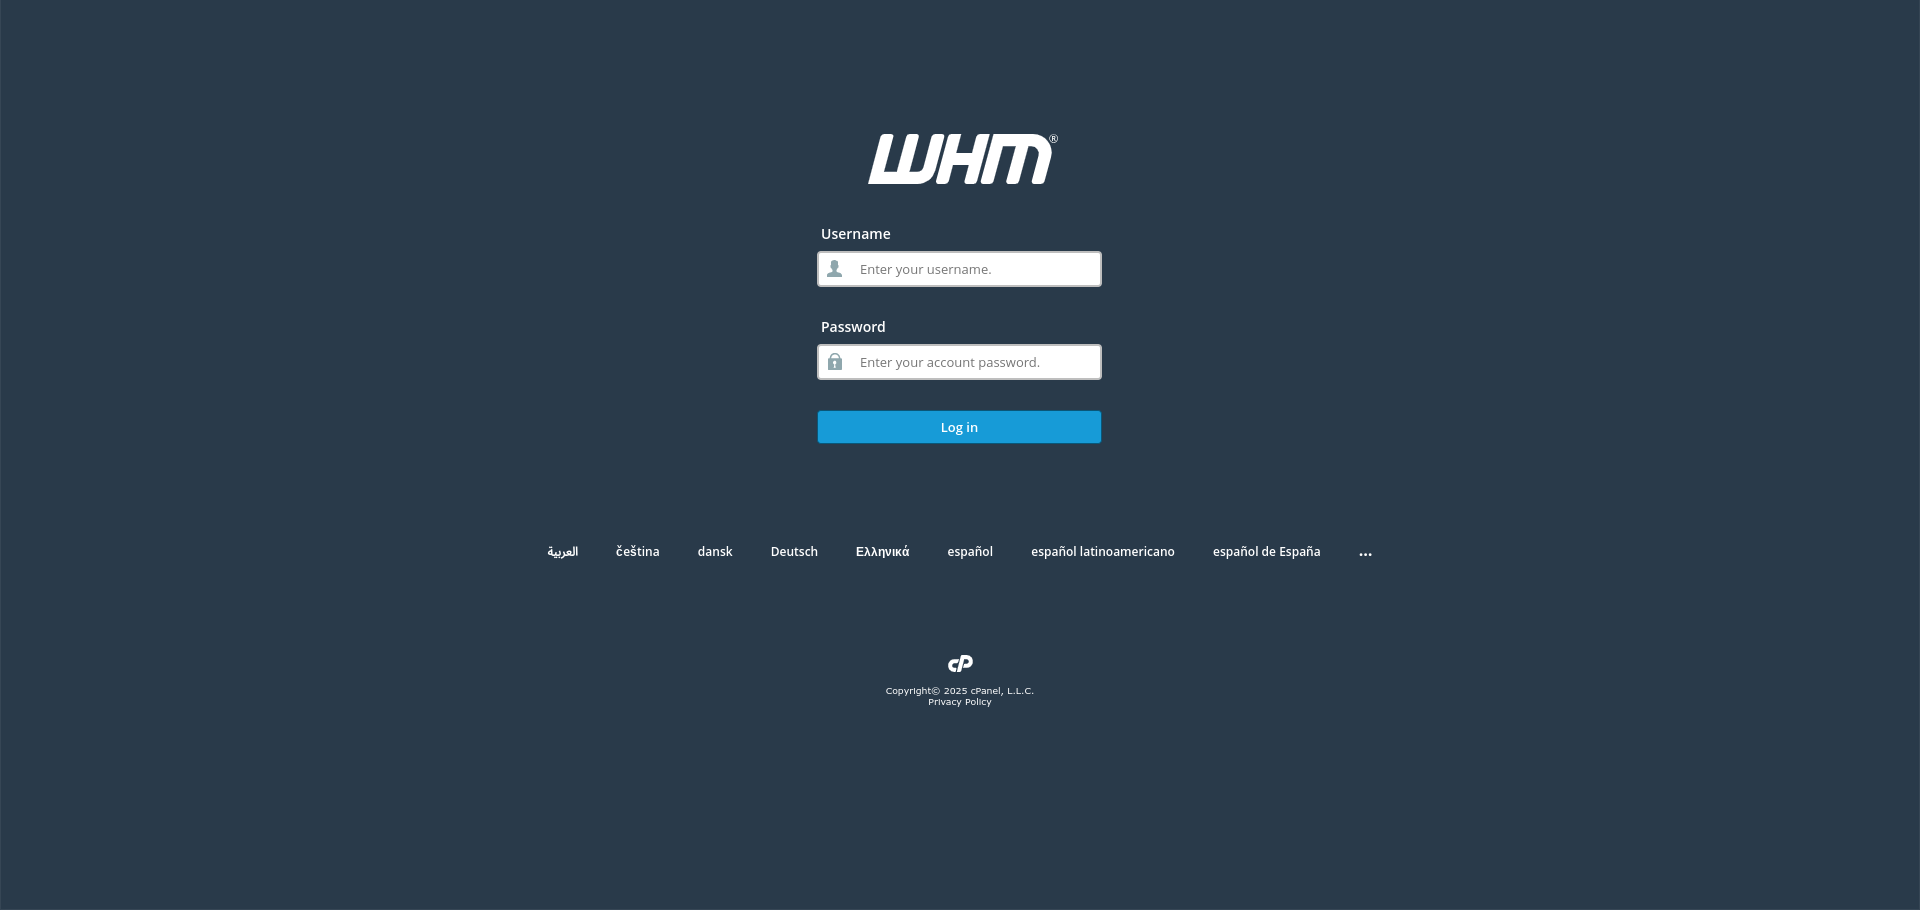
- Log in to WHM:
Use your root or reseller credentials to log in to the WHM control panel.
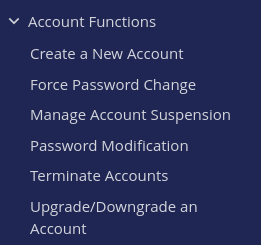
- Navigate to the Account Functions Section:
- In the left-hand menu, locate and click on Create a New Account under the Account Functions category.
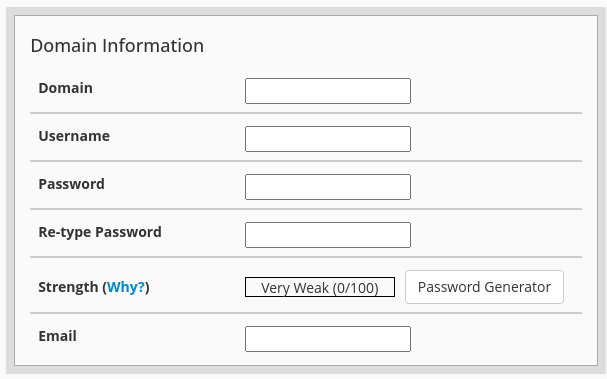
- Enter Domain Information:
- Domain: Enter the primary domain name for the new cPanel account.
- Username: Specify the username for logging into cPanel.
- Password: Set a strong password for the cPanel account.
- Email: Provide a contact email address for the new account.
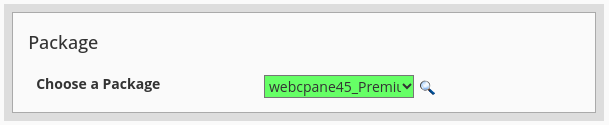
- Select a Package (Optional):
- Choose a predefined package from the Package dropdown menu, or select Select Options Manually to customize resource allocations.
- Configure Settings:
- Settings: Adjust settings such as the default cPanel theme, locale, and enable Apache SpamAssassin if desired.
- Mail Routing Settings: Select the appropriate mail routing option based on your server's configuration.
- Create the Account:
- After reviewing the information, click the Create button to establish the new cPanel account.

Congratulations! You’ve successfully added a new cPanel user in your WHM control panel.


