


This article will show you how to add DNS records in DirectAdmin.
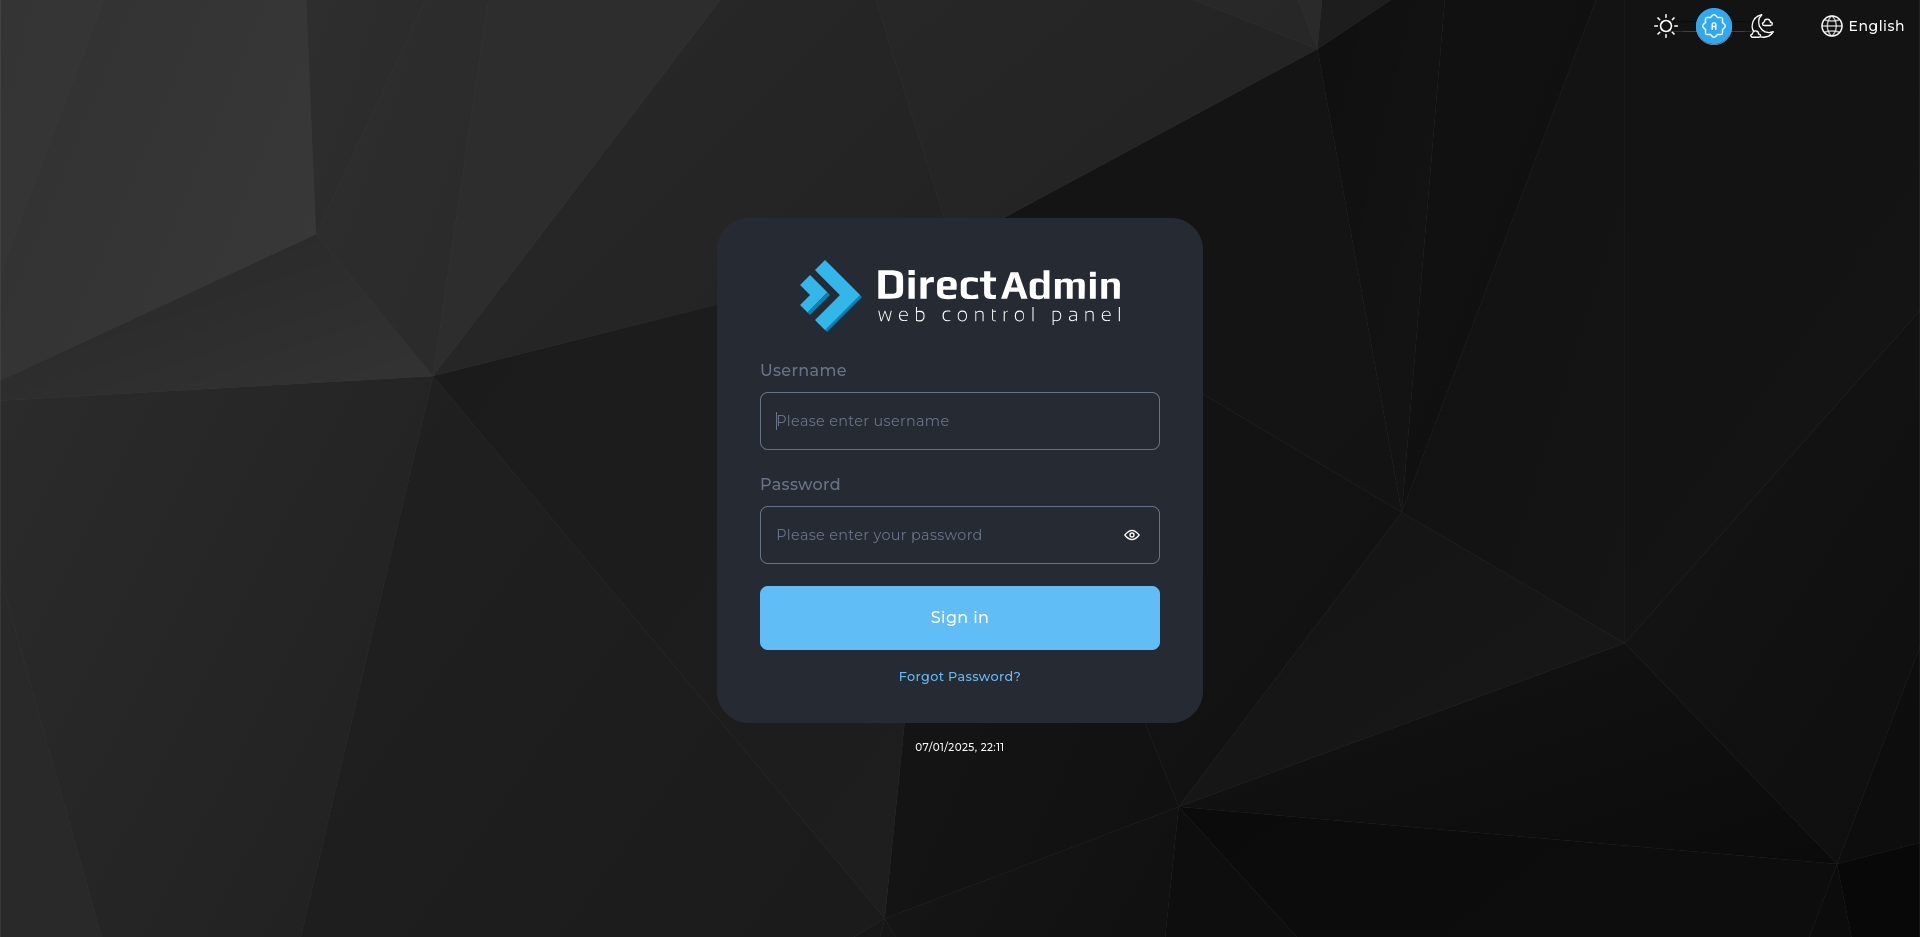
- Log in to DirectAdmin:
Use your user credentials to log in to the DirectAdmin control panel.
- Navigate to DNS Management:
- Click on Account Manager in the main menu.
- Select DNS Management.
- Add a New DNS Record:
Click on the Add Record button. - Configure the DNS Record:
- Record Type: Choose the type of DNS record you want to add (e.g., A, CNAME, TXT, MX).
- Name: Enter the name for the record. For example, to create a subdomain
sub.example.com, entersub. - Value: Provide the value for the record. For an A record, this would be the IP address.
- TTL (Time to Live): Specify the TTL value, which determines how long the record is cached by DNS resolvers.
- Save the Record:
After entering the details, click the Add button to save the new DNS record.
Congratulations! You’ve successfully added a DNS record in your DirectAdmin control panel.


