


This article will show you how to use the File Manager in DirectAdmin.
- Log in to DirectAdmin:
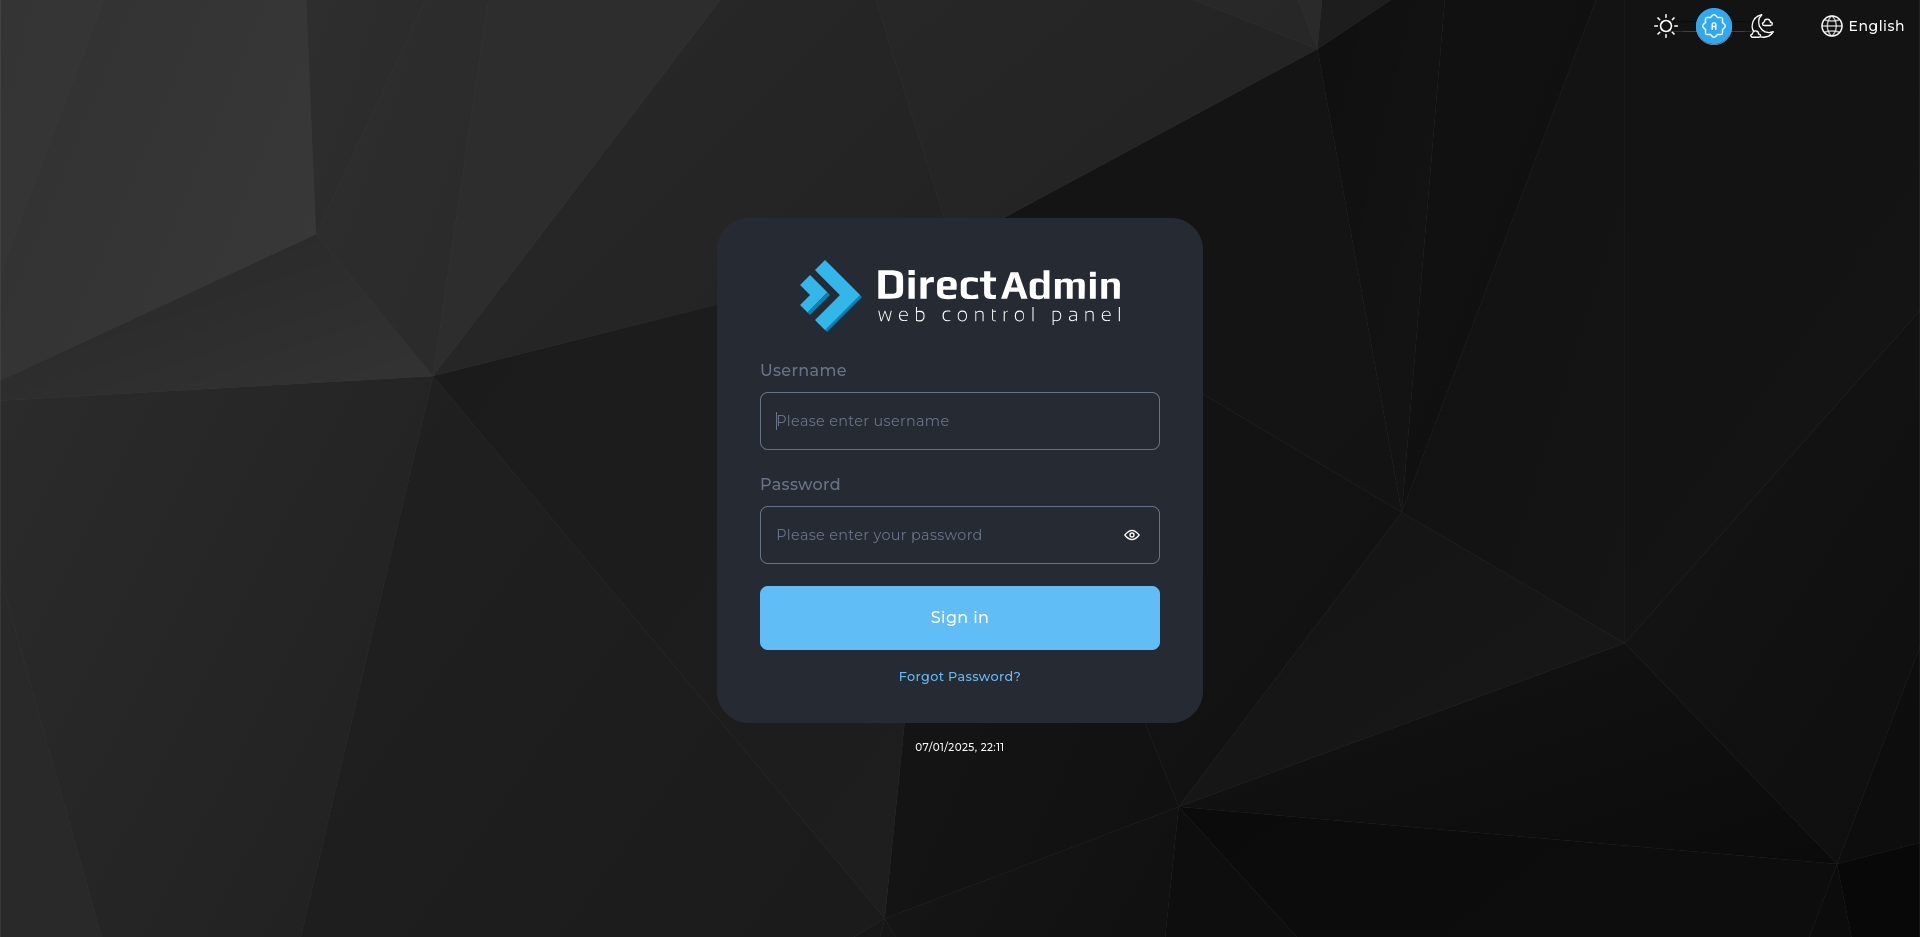
Use your user details to log in to the DirectAdmin control panel.
- Navigate to the File Manager Section:
On the homepage, click on File Manager under the System Info & Files section. - Select a Directory:
The File Manager will open with a directory view. Navigate through the directories by clicking on the folder names. - Upload Files:
To upload a file, click on the Upload Files button, displayed as a plus icon. Select the file(s) you wish to upload from your computer and click Open. - Create a New File or Folder:
- To create a new file, click on the New File icon, enter the file name, and click Create.
- To create a new folder, click on the New Folder icon, enter the folder name, and click Create.
- Edit Files:
To edit a file, right-click on the file and select Edit. You can make changes to the file’s content directly in the editor. - Delete Files or Folders:
To delete a file or folder, right-click on it and select Remove. A confirmation prompt will appear to ensure you want to delete the selected item. - Change Permissions:
To modify file or folder permissions, right-click on the item and select Set Permissions. You can then set the desired permissions for the item. - Download Files:
To download a file or folder, right-click on it and select Compress and download. The file or folder will be saved to your local computer. - Move or Copy Files:
Right-click on the file or folder, and select Move or Copy. Enter the destination path and confirm the action.
Congratulations! You’ve successfully learned how to use the File Manager in DirectAdmin to manage your files and directories.


