


This article will show you how to create a package in DirectAdmin.
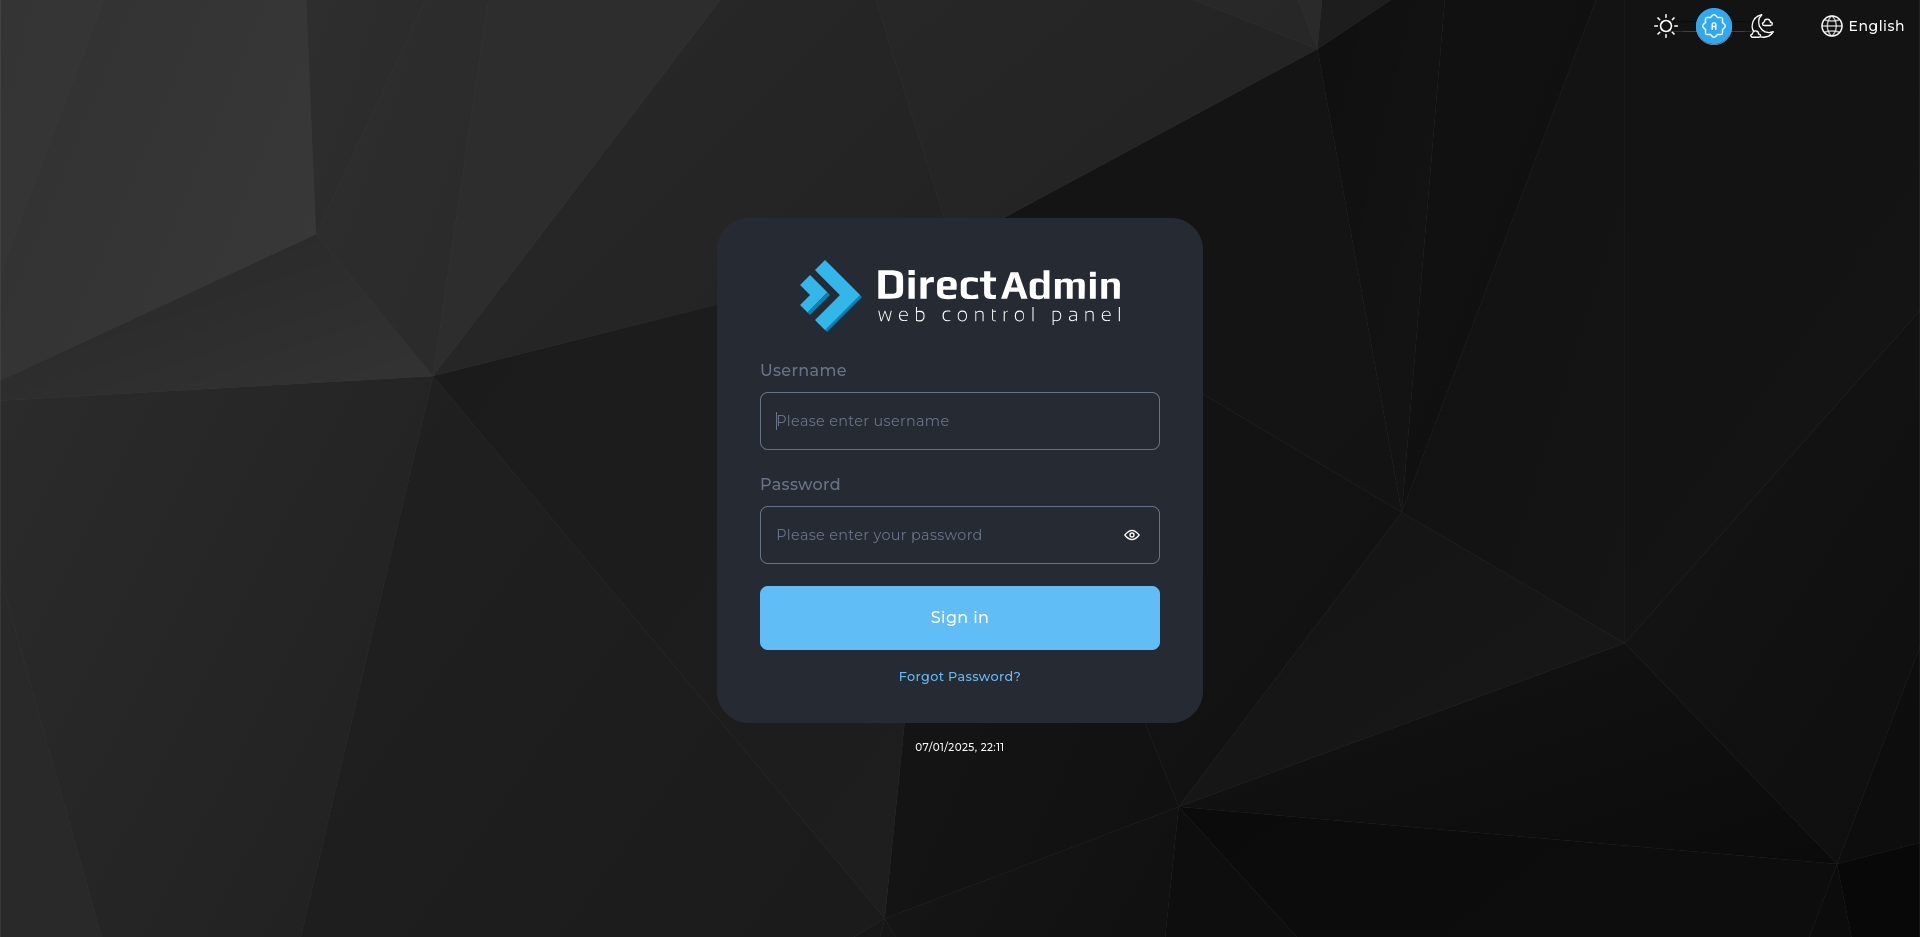
- Log in to DirectAdmin:
Use your admin or reseller credentials to log in to the DirectAdmin control panel.
- Navigate to Manage User Packages:
- Click on Manage User Packages under the Account Manager section.
- Add a New Package:
- Click on the Add Package button.
- Configure Package Settings:
- Package Name: Enter a name for your package (e.g., Gold Plan).
- Bandwidth (MB): Specify the bandwidth limit for the package.
- Disk Space (MB): Set the disk space quota.
- Email Accounts: Define the number of email accounts allowed.
- FTP Accounts: Specify the number of FTP accounts.
- MySQL Databases: Set the limit for MySQL databases.
- Domains: Define the number of domains that can be hosted under this package.
- Subdomains: Set the limit for subdomains.
- Parked Domains: Specify the number of parked domains.
- Email Forwarders: Set the limit for email forwarders.
- Mailing Lists: Specify the number of mailing lists.
- Auto-Responders: Set the number of auto-responders allowed.
- Catch-All Email: Enable or disable the catch-all email option.
- SSL: Enable or disable SSL for accounts under this package.
- CGI Access: Enable or disable CGI access.
- PHP Access: Enable or disable PHP access.
- SSH Access: Enable or disable SSH access.
- Custom DNS Records: Allow or disallow custom DNS records.
- Save the Package:
- After configuring the desired settings, click the Save button to create the package.
- Assign the Package to Users:
- After creating the package, you can assign it to new or existing users when setting up or modifying their accounts.
Congratulations! You’ve successfully created a package in your DirectAdmin control panel.


